
The kit
The kit is the classroom
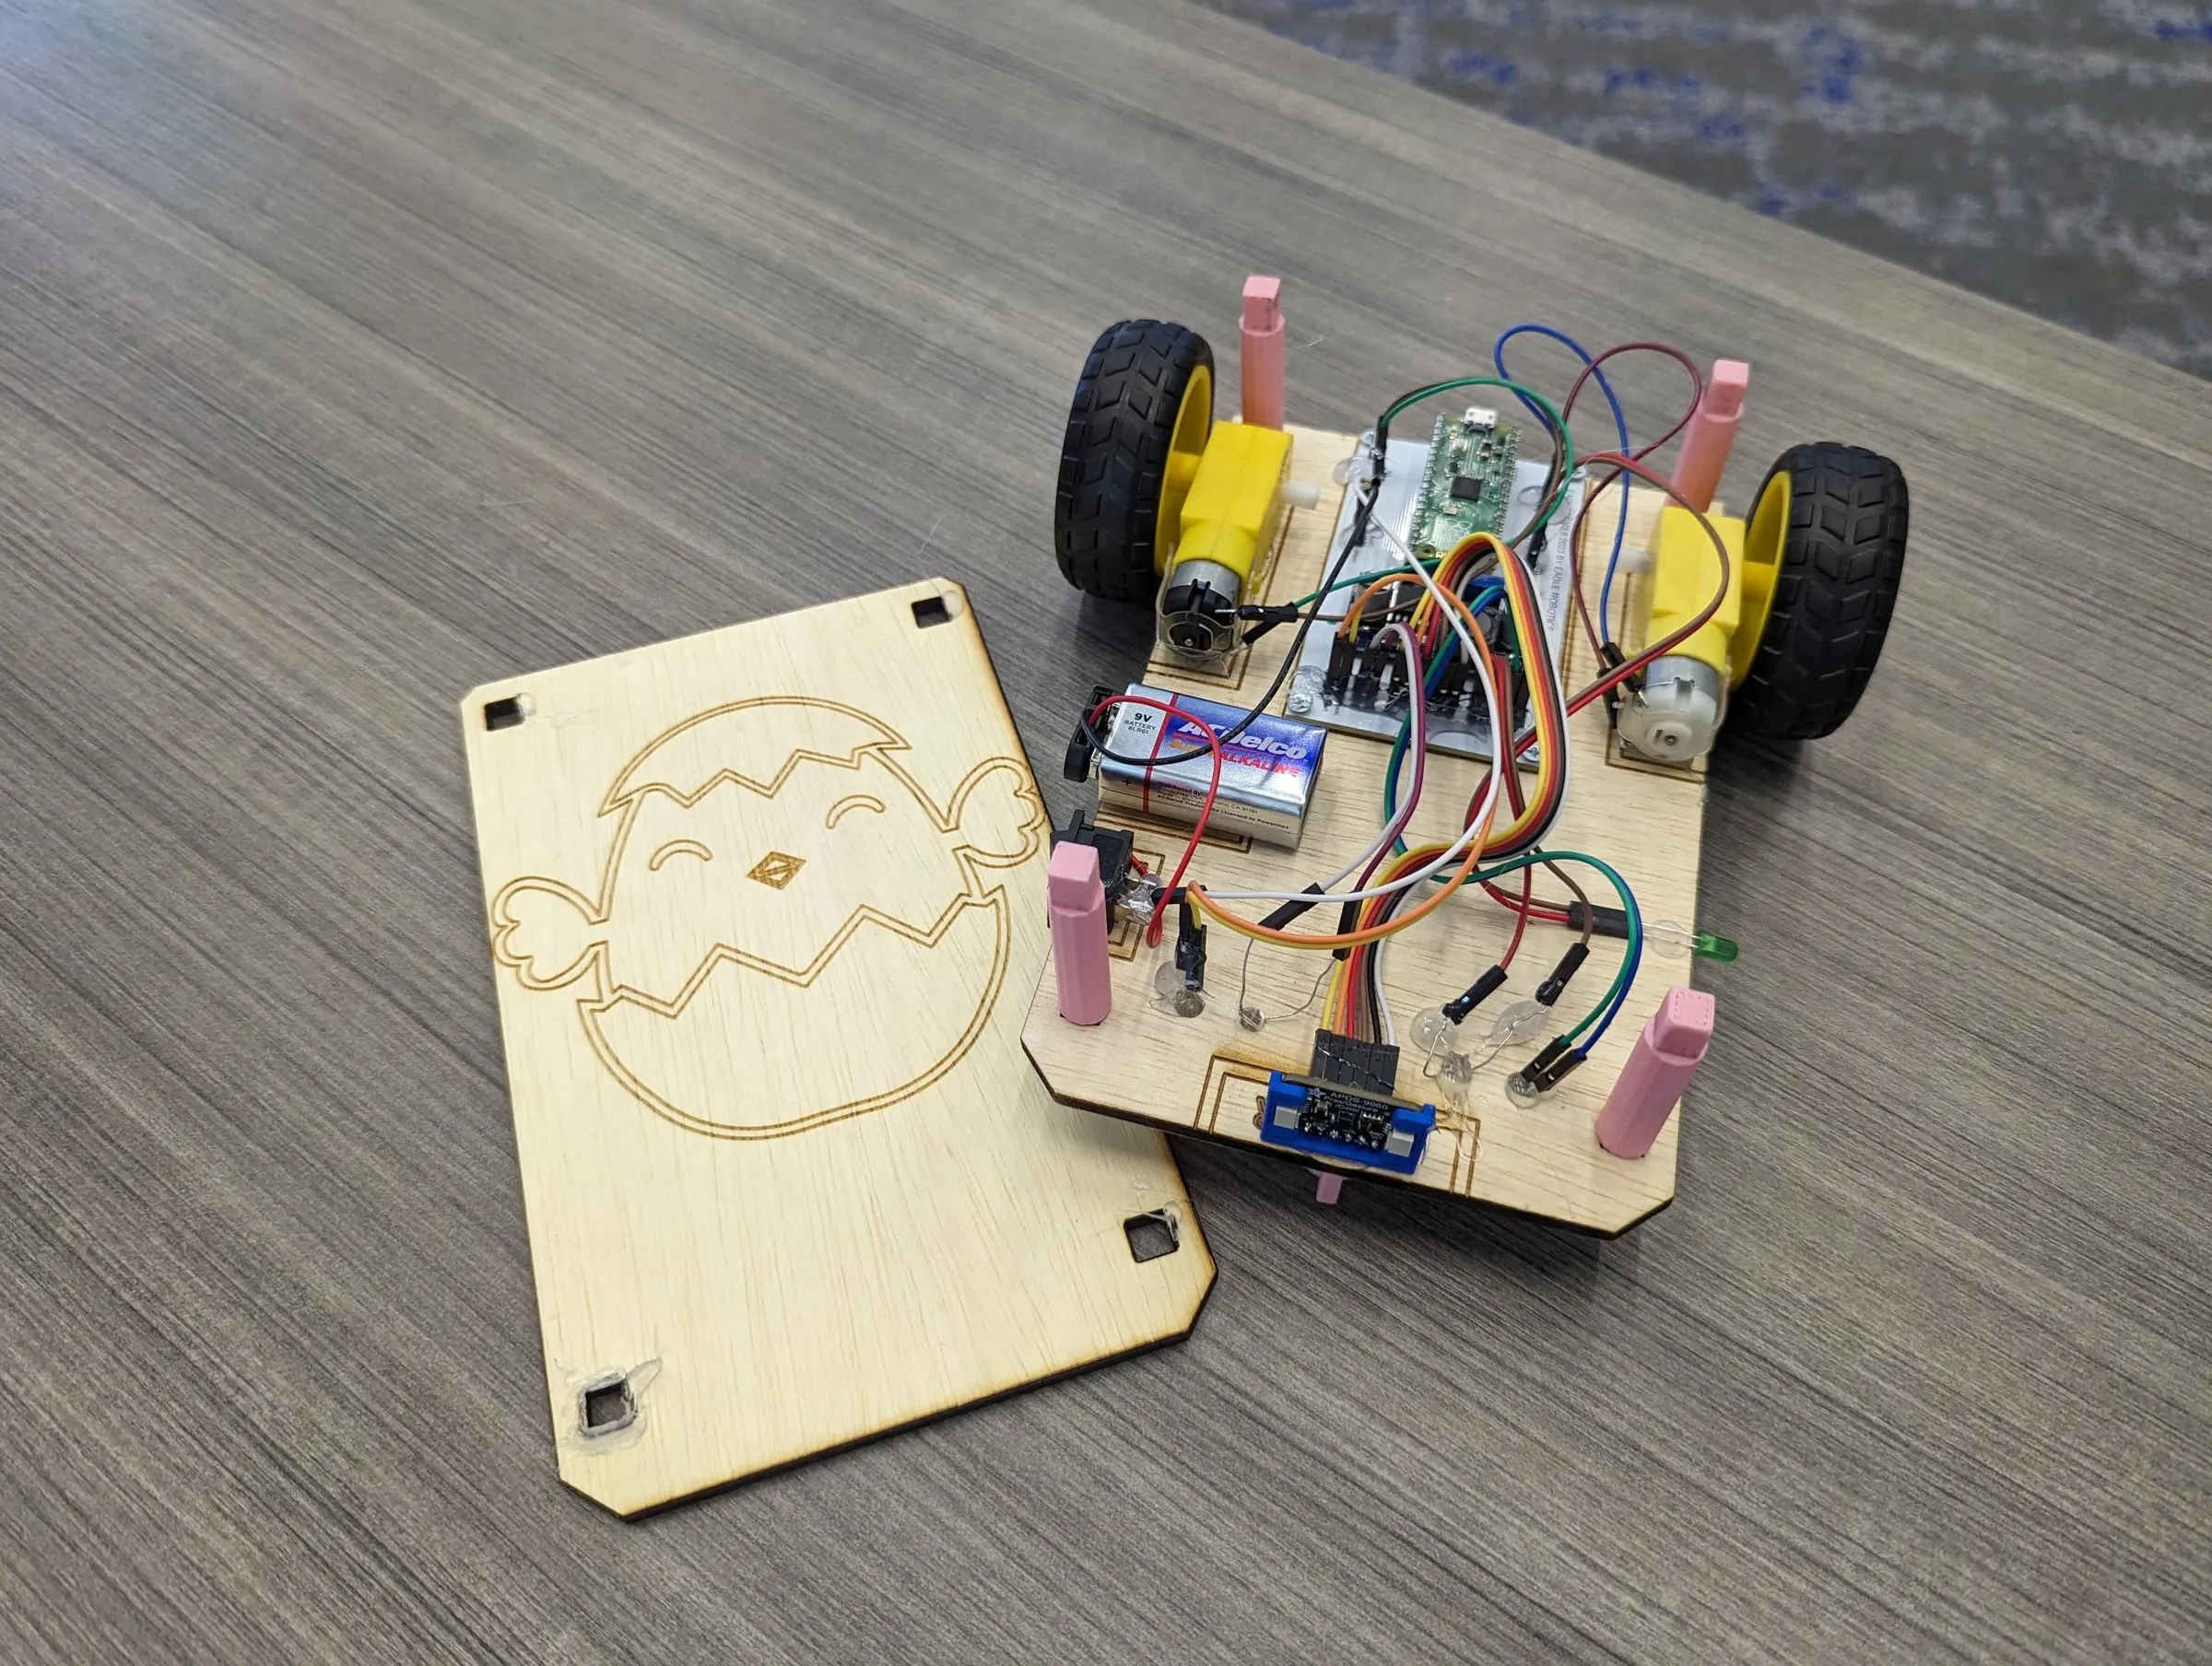
Students design this robot to be understood rather than admired. The wiring stays visible, the components stay reachable, and every part is there to give a camper something to ask about.
Built to be taken apart
Most robotics demonstrations hand a student a finished machine and a button to press. This one arrives as parts. Students assemble it, wire it, program it, break it, and repair it, and by the end they can account for every piece, which is a different and more durable outcome than having enjoyed watching it move.
Most of the kit is 3D-printed or laser-cut from wood by the team itself. That is what keeps it affordable compared to the robot kits already on the market, and affordable is what lets Eaglets put one in every student's hands at a camp that costs them nothing.
The kit has been through several generations. Each one came from watching where students actually got stuck.
Made, not bought
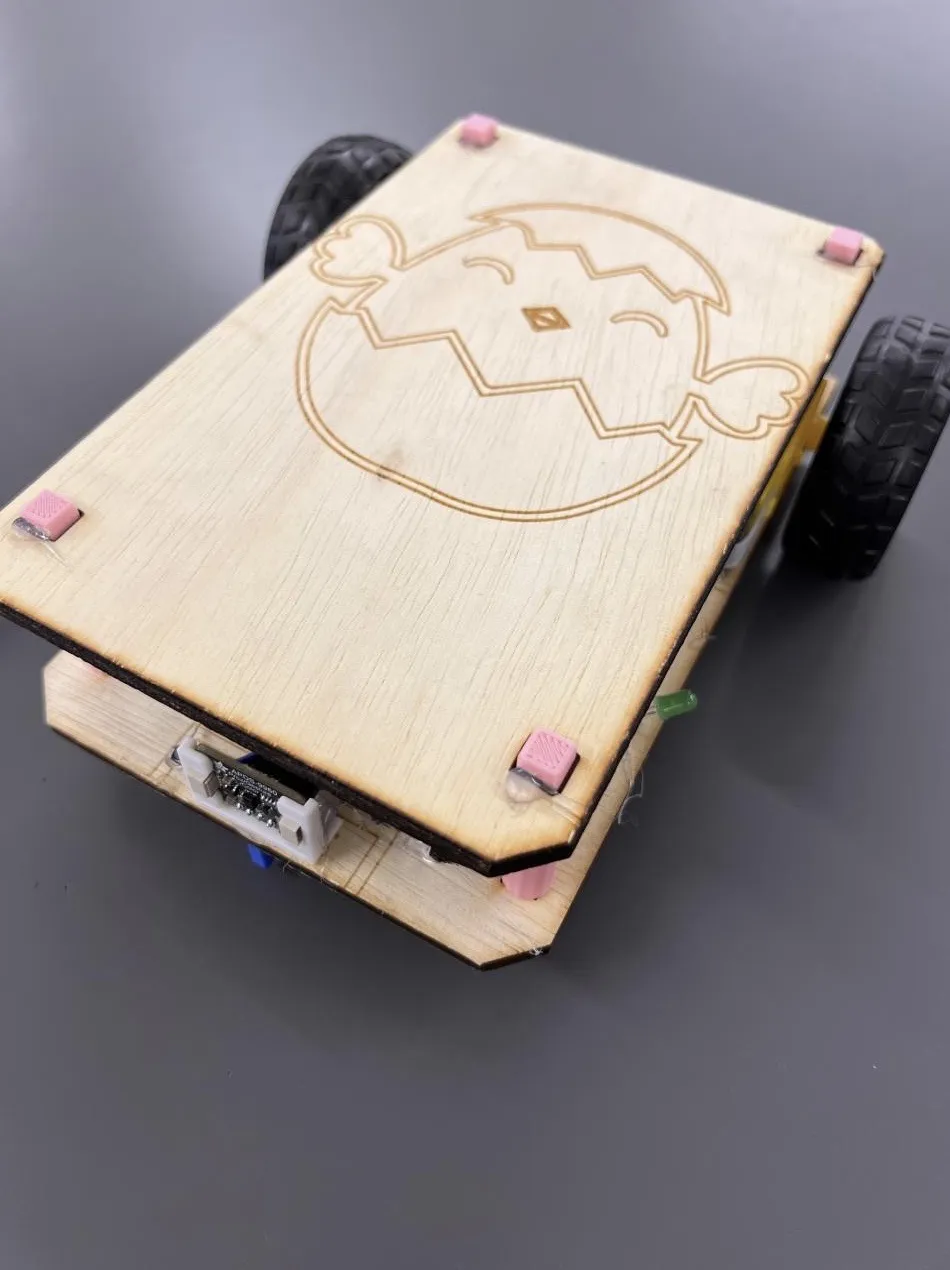
The mascot on the lid is engraved by the same laser cutter that cuts the chassis, in the same pass through the same sheet of plywood. It costs nothing to add, which is exactly why it is there.
Small detail, but campers notice it. A robot with a name and a face on it reads as something that was made for you rather than something ordered in bulk, and every student who builds one takes it home.
The system
Five parts, one loop
Described by what each part is for. Exact components change between kit revisions, so this page stays at the level that stays true.
- Controller
The part that runs your program
A small microcontroller board. Whatever a student writes ends up here, and it executes exactly what it was told, which is most of the lesson.
- Motors
Turning instructions into movement
Two independently driven wheels. Drive them together and the robot goes straight; drive them differently and it turns. Turning accurately is harder than it sounds.
- Sensor
Letting the robot notice things
A distance sensor gives the robot input from the room. This is where a program stops being a fixed sequence and starts being a decision.
- Circuits
Every connection visible
Wiring is exposed rather than hidden in a sealed harness, so a student can trace a signal, find the break, and fix it themselves.
- Chassis
Holding it together
A laser-cut base that everything mounts to, with a lid engraved with the Eaglets mascot. Sturdy enough to survive a room of third graders and a few collisions.
Looking for the exact parts list? It is held back until the technical officers confirm the current revision. See kit evolution.
Made by students
Kits do not appear on their own
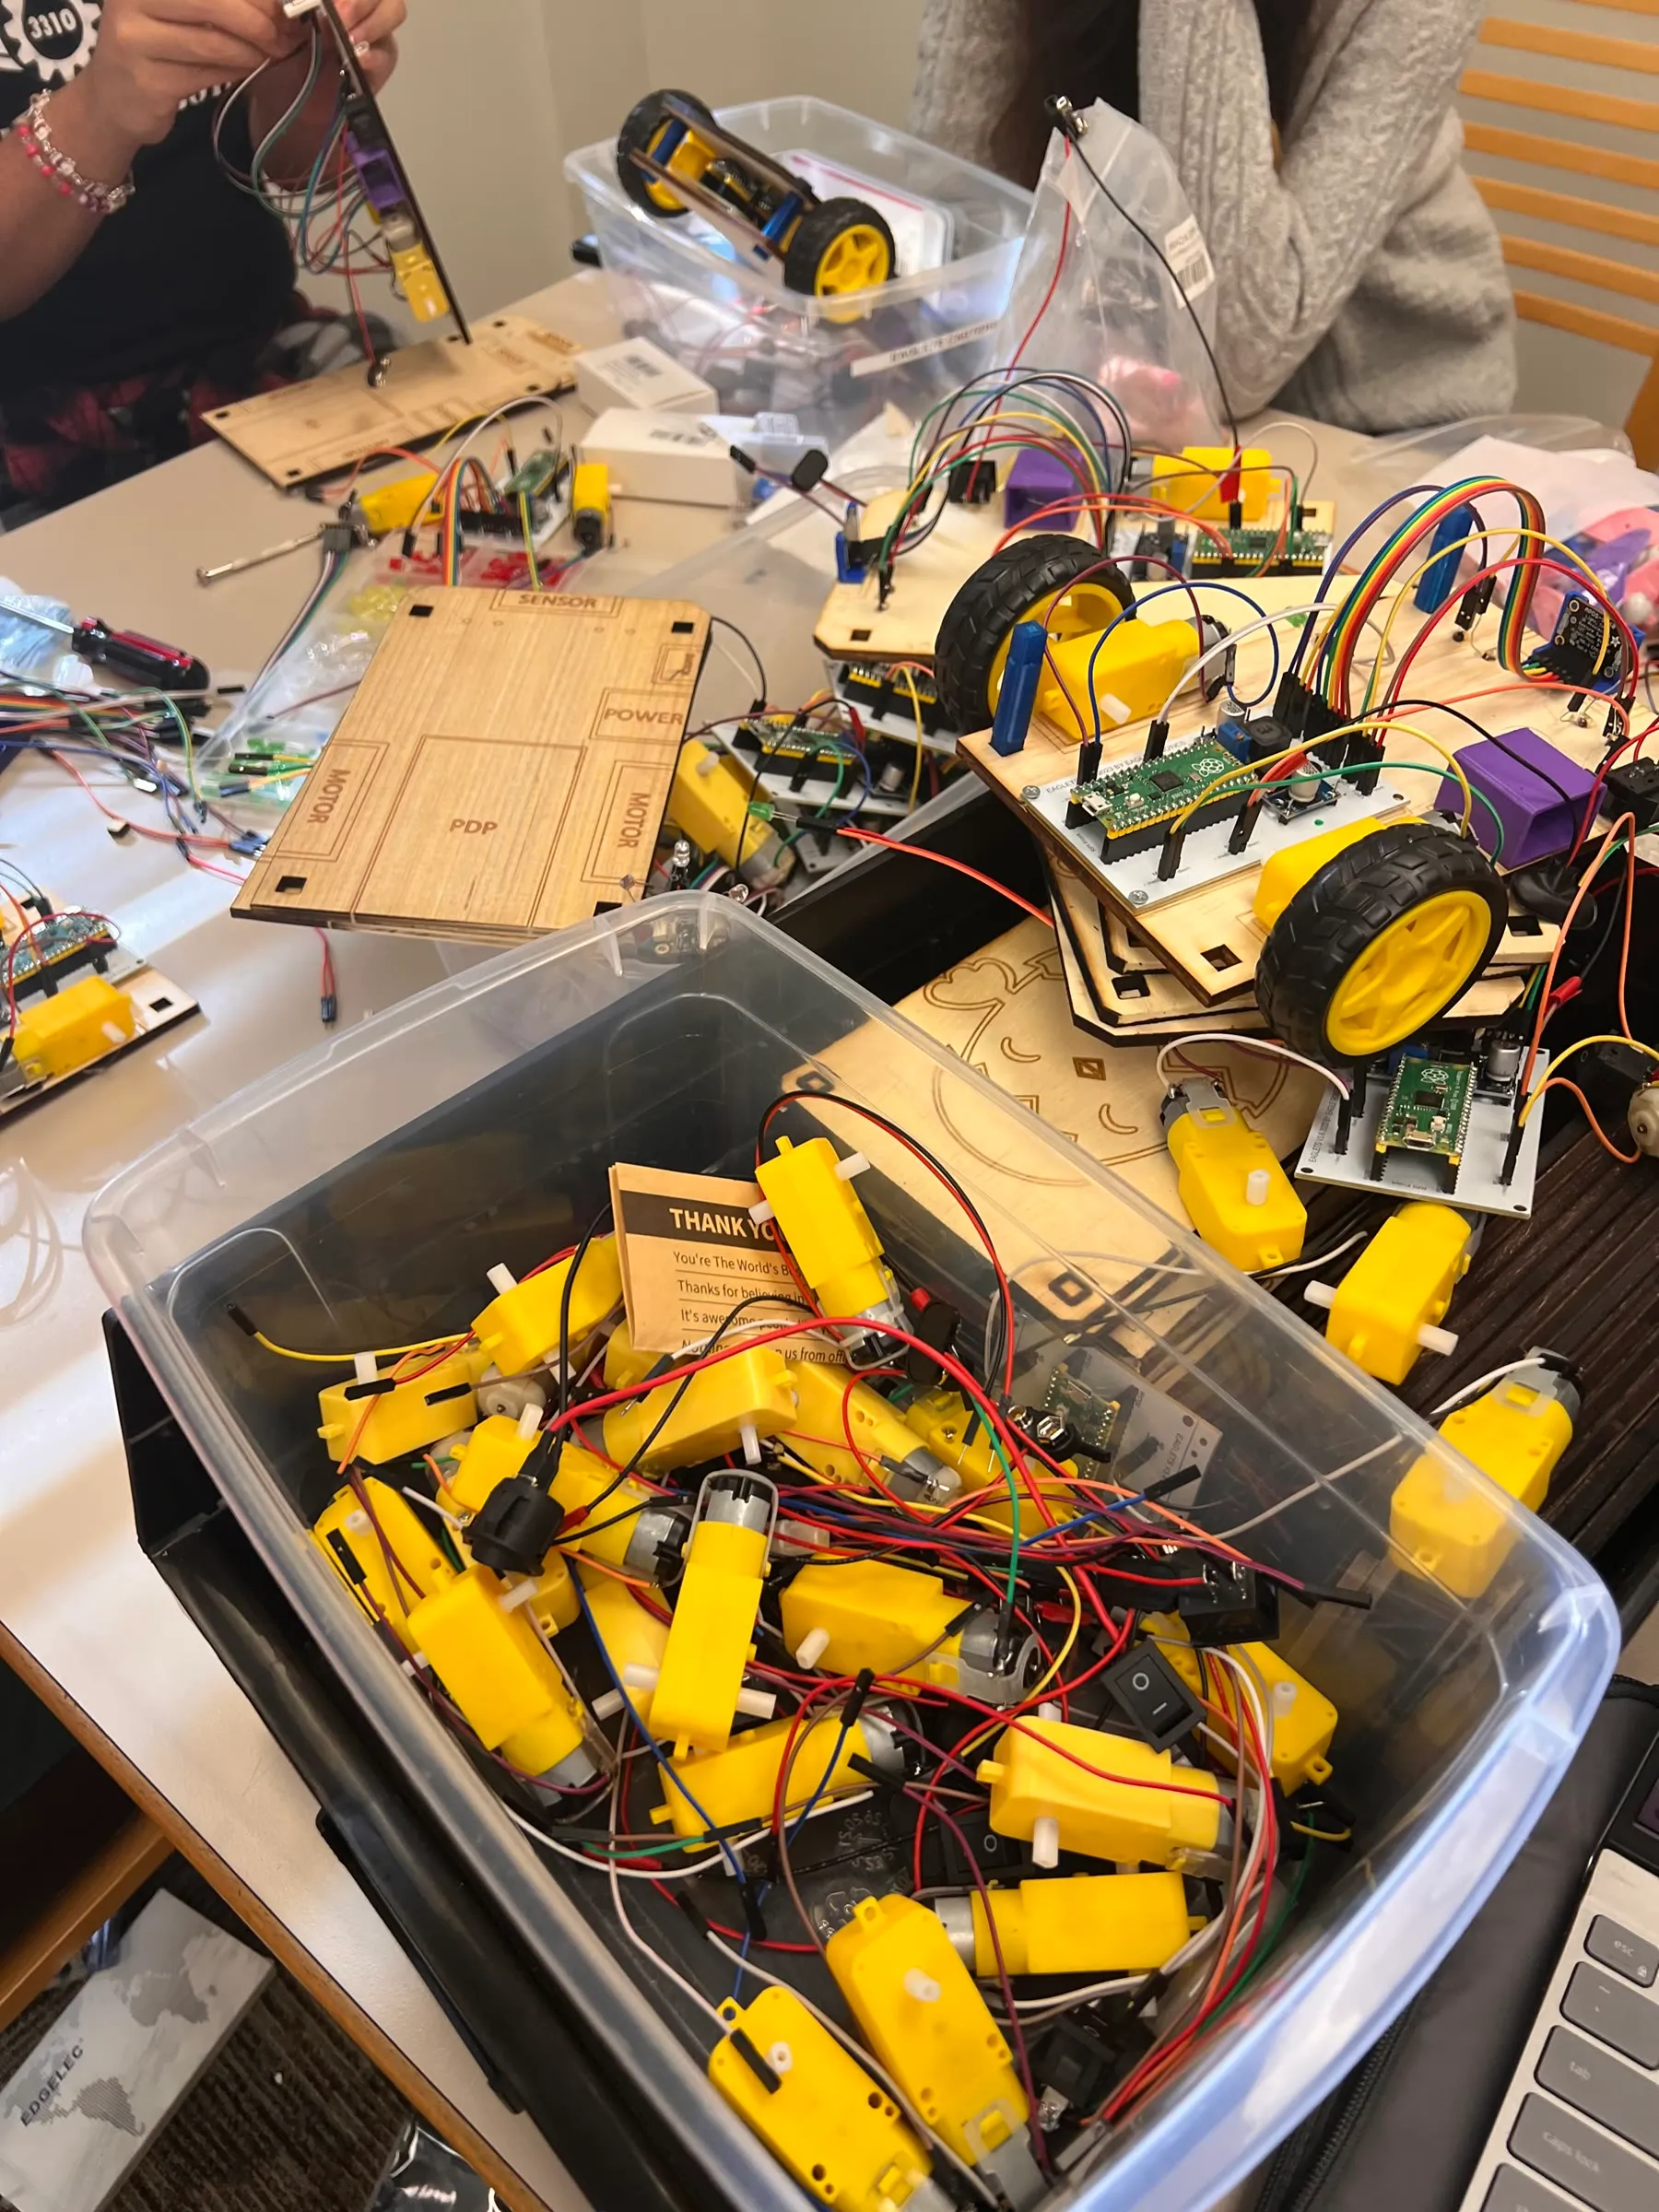
Before a camp, students cut chassis, mount motors, run wiring, and test every kit individually. A kit that fails on the day costs a camper an hour of their program, so the testing matters as much as the building.
This is also where most of the engineering learning happens. Assembling fifty of something teaches you exactly which step in your design was a bad idea.
What students do with it
Example challenges
Drawn from the curriculum. The point of each one is that it can fail in an interesting way.
- 01Drive a set distance and stop where you meant to
- 02Make a turn that repeats the same way twice
- 03Navigate a maze
- 04React to what the distance sensor sees
- 05Draw a shape with a marker attachment
- 06Test a circuit and prove it works
- 07Diagnose a wiring or code problem someone else created
Solutions and instructor notes are not published here. They stay with the curriculum for people running programs.
How it works
Inputs, logic, and outputs: how the sensor, the controller, and the motors fit together.